Beat the Heat: A Guide to Split Air Conditioner Installation Kit
Date:
2025-07-31
Discover everything you need to know about split air conditioner installation kits and how to install them like a pro!
Introduction to Cooling Comfort
Ah, summer! The season of barbecues, beach trips, and... sweltering heat! If you’ve ever tried to sleep through a hot night without air conditioning, you know how vital it is to keep your space cool. Enter the split air conditioner installation kit – your ticket to a refreshing indoor oasis. So, let’s dive into this topic and explore how to install one of these bad boys!
What is a Split Air Conditioner Installation Kit?
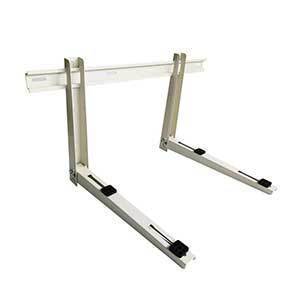
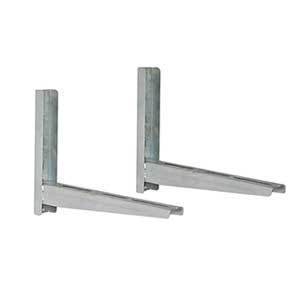
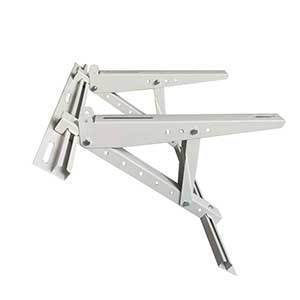
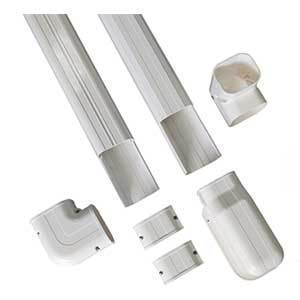
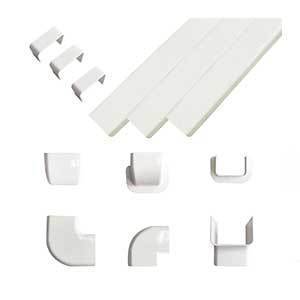
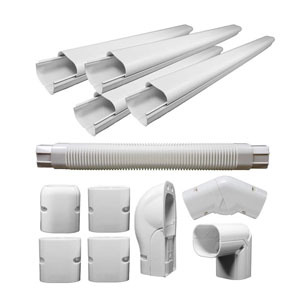
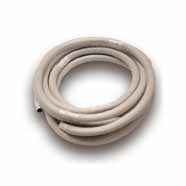
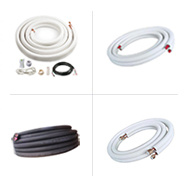
First things first, what’s a split air conditioner installation kit? Simply put, it’s a collection of tools and materials you need to set up your split AC system. This kit typically includes refrigerant lines, electrical wiring, mounting brackets, and even a drain line. Basically, it’s everything you need to get that cool air flowing!
Why Choose a Split System?
Now, you might be wondering, "Why go for a split system in the first place?" Well, split air conditioners offer flexibility and efficiency. Unlike traditional window units, split systems allow you to cool individual rooms without the noise and bulkiness of a window unit. Plus, they don’t block your views—talk about a win-win!
Gathering Your Tools
Before you roll up your sleeves, let’s make sure you have everything you need. The split air conditioner installation kit should include:
- Refrigerant lines
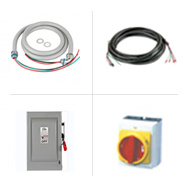
- Electrical wiring
- Mounting brackets
- Drain line
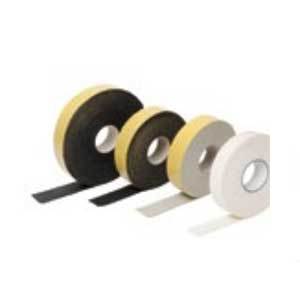
- Insulation
- Power tools (like a drill or wrench)
- Safety gear (gloves, goggles)
Step-by-Step Installation
Ready to install your split AC? Here’s a quick guide to help you through the process:
- Choose Your Location: Pick a wall that’s away from direct sunlight and allows for proper airflow. This will make a big difference!
- Mount the Indoor Unit: Use the mounting brackets from your split air conditioner installation kit to secure the indoor unit to the wall. Ensure it’s level - nobody wants a crooked air conditioner!
- Connect the Refrigerant Lines: Carefully connect the refrigerant lines to the indoor unit. Remember, these lines carry the magic (aka cold air)!
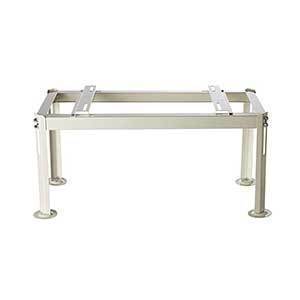
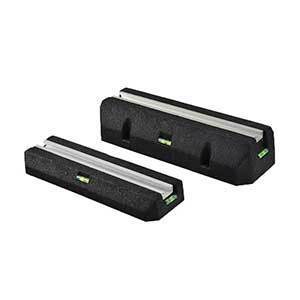
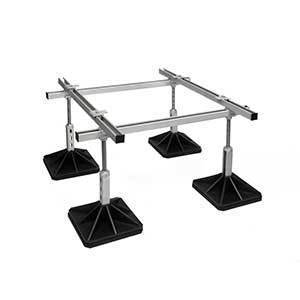
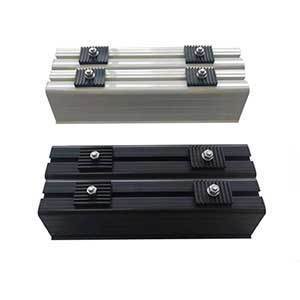
- Install the Outdoor Unit: Place the outdoor unit on a stable surface. Make sure it’s elevated to avoid water pooling.
- Connect the Lines: Next, connect the refrigerant lines from the indoor unit to the outdoor unit. Don’t forget the electrical connections!
- Test Your System: Turn on the power and test your new setup. If it’s blowing cold air, you’re golden!
Common Pitfalls to Avoid
While installing your split air conditioner, watch out for these common mistakes:
- Improper sealing of refrigerant lines can cause leaks.
- Failing to level the indoor unit can affect performance.
- Not following safety precautions could lead to accidents.
Wrapping It Up
And there you have it! With the right split air conditioner installation kit and a bit of elbow grease, you can transform your space into a cool haven. Remember, if you ever feel overwhelmed, there’s no shame in calling in the pros. After all, some things are best left to the experts! So go on, beat the heat, and enjoy that refreshing breeze!
RELATED NEWS
REQUEST YOUR CUSTOMISED PROJECT
Speak With Our Experienced Consultants To Learn How
was founded in 2005. In order to make installation simpler, faster and better, we dedicate to the research, development, design
Copyright © HARBIN CMEG CO.LTD.

Message
 cristinwei@climalink.cn
 +86 451 82387383
